I am definitely excited here- this could be a really amazing strand!! Imagine a whole necklace of natural-color Blue Tahitian pearls! I was able to finish the layout on Thursday- here are the initial shots:
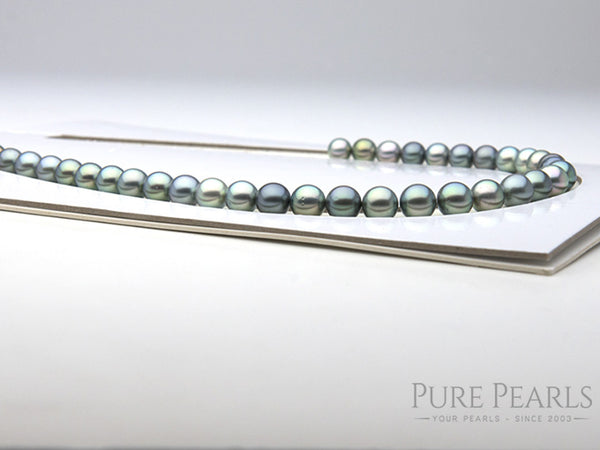
Silver Blue Tahitian Pearl Necklace Layout Before Drilling
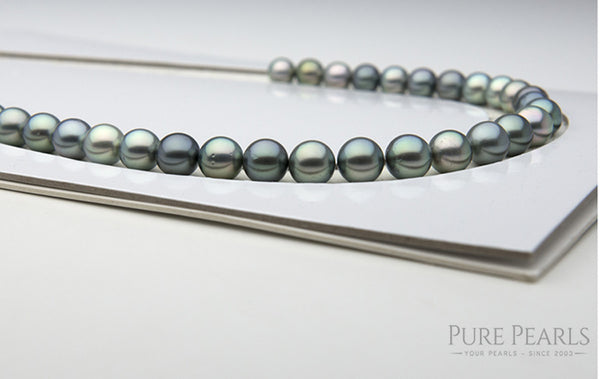
Silver Blue Tahitian Pearl Necklace Layout – Center Section
Today we begin drilling the pearls! This is always the most nerve-wracking part for me- the possibility of a pearl heating up too quickly and cracking in half is scary… Especially when the colors are so rare. We are half-way through, and so far everything’s looking good.
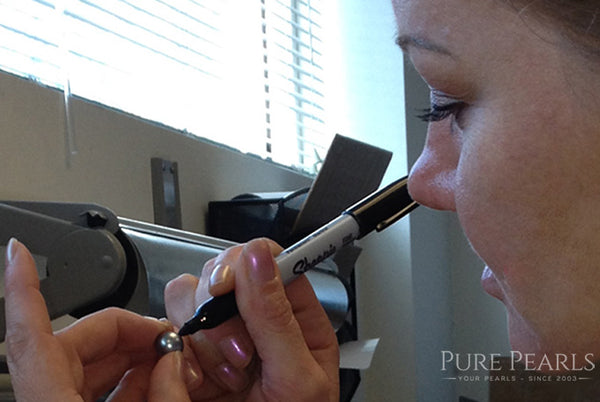
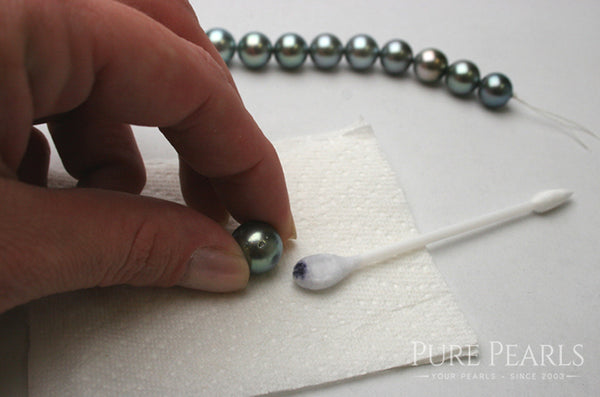
Here I examine a pearl to find just the right spot to drill it. Typically I try to mark directly on an inclusion.
If the Tahitian Pearl has multiple inclusions, I try to place the drill shaft between the largest ones, so that when the necklace is strung, the blemishes will be hidden.
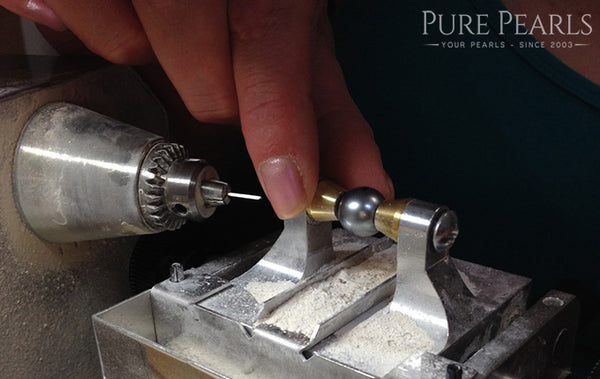
I use a high-powered pearl drill to and assembly to hold each Tahitian pearl in place while drilling the shaft. The shaft’s size is 0.35mm approximately, standard for stringing pearls.
Here are the pearls after drilling- I haven’t cleaned off the black Sharpie yet.
I’ll update next week once the necklace is completely finished (and everything goes well- keep your fingers crossed!) with more pictures on this fabulous necklace. I can’t wait to put it on the site!! :)
~Ashley
